Install Instructions
Let's keep everyone secure with Enterprise Security for WHMCS.
It doesn't matter what version of WSC you use, Paid or Free. All that matters is end-user security. Here you will learn how to install the latest version of WSC in a few minutes. There are two ways to install WSC. FTP & File Manager. We deal mostly with cPanel systems but the same process applies to Plesk and DirectAdmin. Once you install WSC, you will get automated version upgrades on Free and Paid licenses.
Download & Upload WSC
From the DevGB client area download the version of WSC you wish to install. Remember to check the requirements for that version against your WHMCS environment. You must use the correct version of WSC or you could see unexpected consequences like error pages.
- Upload WSC via FTP
Extract the WSC download to your desktop. You will see the modules folder. Upload the entire modules folder to the root of your WHMCS install. For example. If you are using cPanel and your WHMCS was at www.dev.gb.net. You would upload the modules folder to the public_html folder. Once uploaded WSC will be located at /modules/addons/tickets_credentials. You will also notice the update module packaged with WSC. This will be located at /modules/addons/updatemanager.
- Upload WSC via File Manager
Connect to your hosting account—for example, cPanel. Click "File Manager" and navigate to the directory where WHMCS is installed. Upload the WSC download from the DevGB client area. Use the file manager to extract the files in the root of your WHMCS install. WSC will be located at /modules/addons/tickets_credentials. You will also notice the update module packaged with WSC. This will be located at /modules/addons/updatemanager.
Activate WSC
- In the WHMCS administration area navigate to Settings > Addon Modules. Activate the Update Manager and WSC modules.
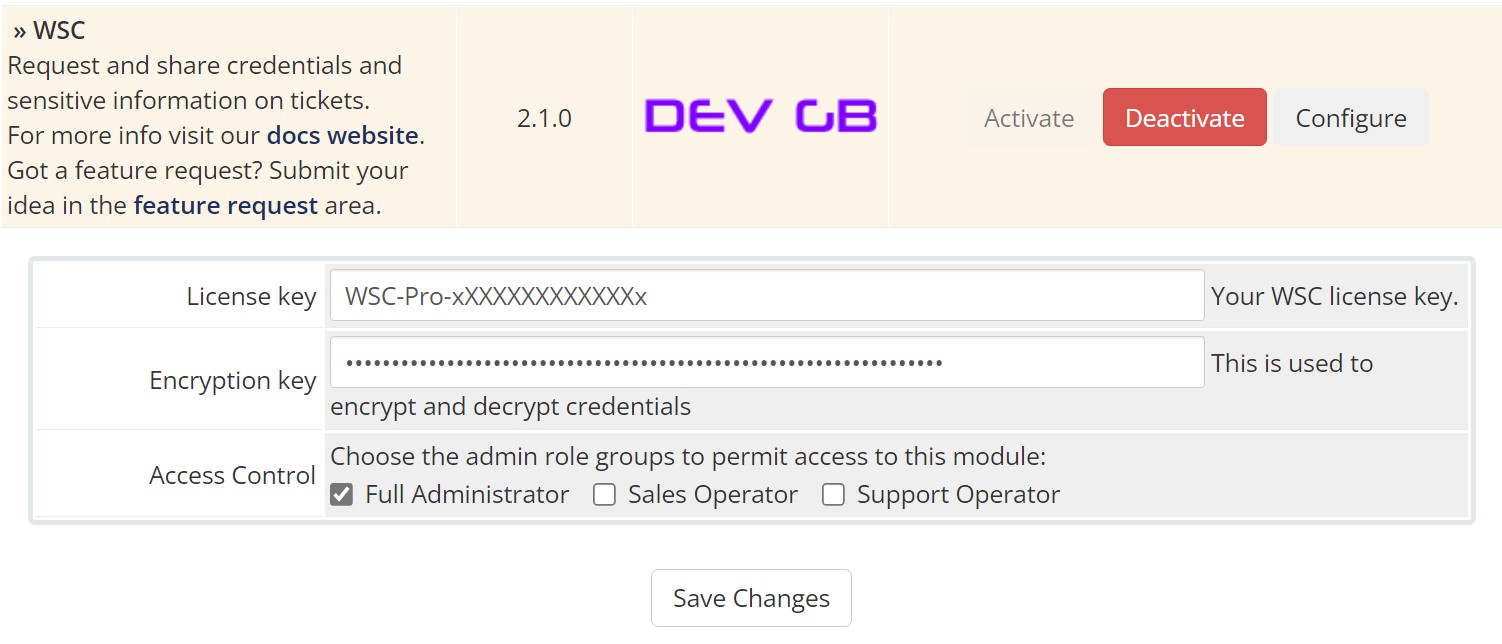
- Assign admin privileges to both modules and enter an Encryption Key for WSC.
- The encryption key needs to be 16 letters long at minimum. HiGhEr and LoWeR case with numb3rs.
- Please see WSC encryption keys for more information.
- The encryption key needs to be 16 letters long at minimum. HiGhEr and LoWeR case with numb3rs.
Configure Auto_Reply Cron (WSC Pro Licenses)
So that the ticket updater posts updates to tickets configure the below cronjob to run every minute or five minutes. The cron command below assumes you are using cPanel with Easy Apache and PHP 8.1. The path to the cron file is /modules/addons/tickets_credentials/autoreply_cron.php for other environments.
cPanel - PHP 8.1
/opt/cpanel/ea-php81/root/usr/bin/php -q /home/CPANEL_USER_NAME/public_html/modules/addons/tickets_credentials/autoreply_cron.php >/dev/null 2>&1CloudLinux - ALT PHP 8.1
/opt/alt/php81/usr/bin/php -q /home/USERNAME/public_html/modules/addons/tickets_credentials/autoreply_cron.php >/dev/null 2>&1
Configure WSC
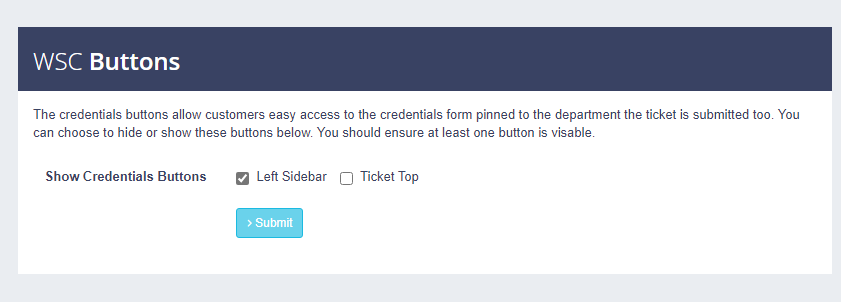
WSC is now installed and ready to be configured. This part differs for Free and Paid licenses so we will deal with the basics. For all users, you can deploy WSC automatically. Navigate to Configuration in the WSC UI, at the bottom under WSC Buttons. Click where you would like to show the credentials button. Click submit.
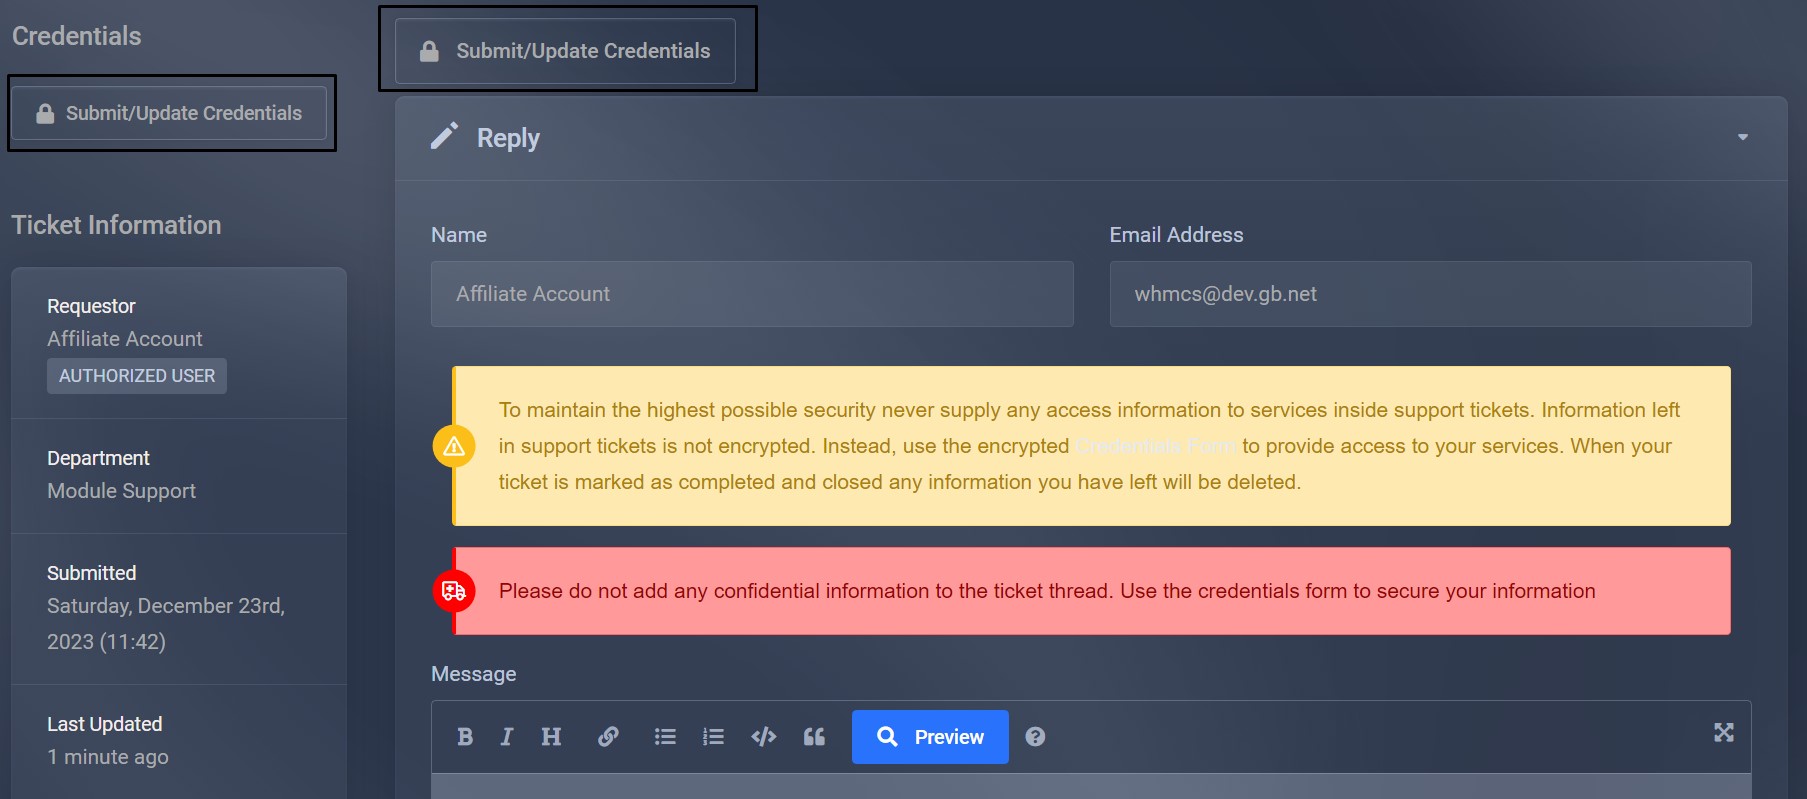
Users can use this area to supply encrypted credentials displayed on the "Credentials" tab in the WHMCS admin area.
